Appendix D - How to configure Epilog for DHCP Logs
Configuring Microsoft DHCP Debug Logging
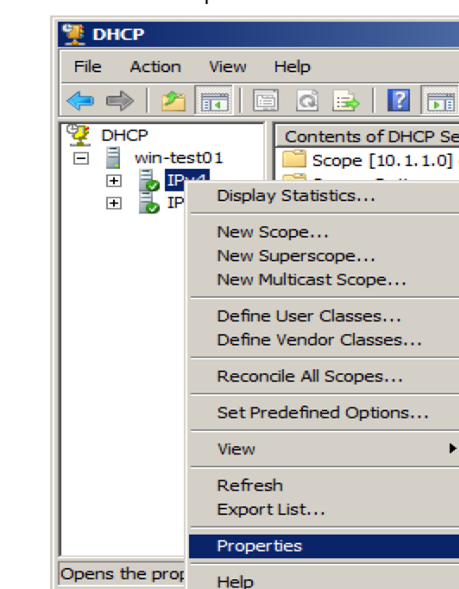
1. Click Start > Programs > Administrative Tools > DHCP.
2. Now that you have the DHCP management console open, right-click on your DHCP server OR IPv4 protocol and select “Properties”.
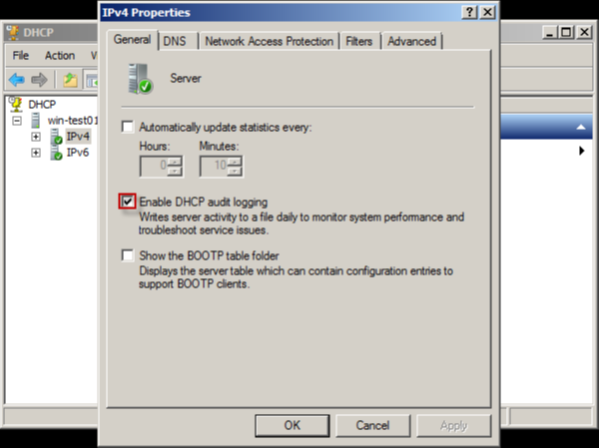
3. Now that you have the properties open for your DHCP server or IPv4 protocol select the General tab and select “Enable DHCP audit logging”.
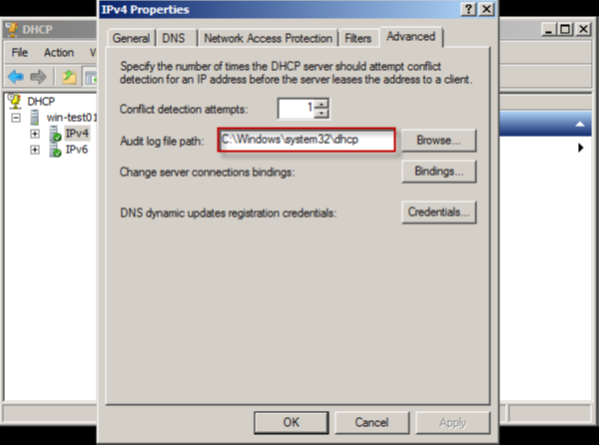
4. Now that you’ve enabled DHCP audit logging select the Advanced tab and record your “Auidt log file path” for future configuration needs.
Accessing Enterprise Epilog
- Navigate to the Enterprise Epilog remote control interface available at All Programs | Intersect Alliance | Epilog for Windows.
Adding Log Source
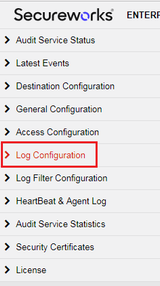
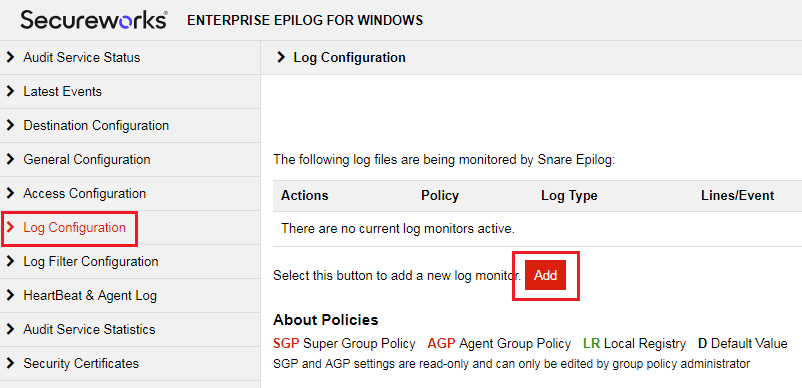
- From the left-hand menu, select “Log Configuration”
2. Click the “Add” button at the bottom of the SNARE Log Configuration screen.
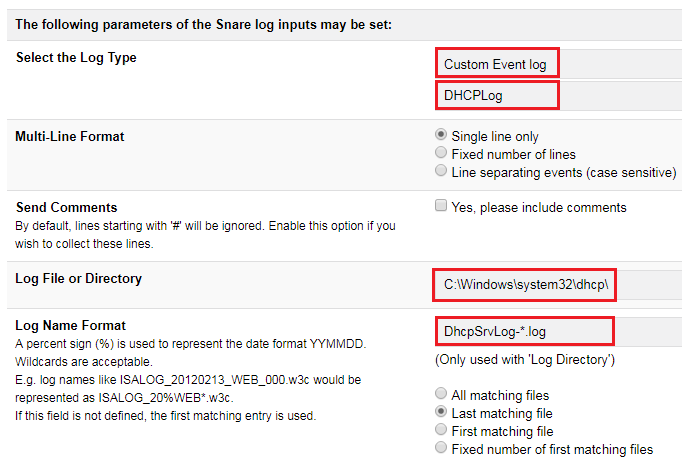
a) “Select the Log Type”: Select <Custom Event Log> and enter DHCPLog in the custom field.
b) In “Log File or Directory”, enter the directory where the DHCP logs are stored. If you are unsure of your log path, see section 6 “Configuring Microsoft DHCP” for assistance in determining the log directory.
c) In “Log Name Format” enter the log file format. The default for IPv4 DHCP logs is DhcpSrvLog-*.log
d) Leave all other settings as their default
4. Once you have filled in the appropriate fields, click the “Change Configuration” button.
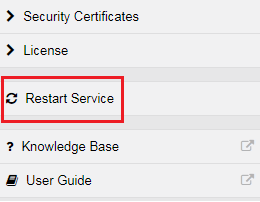
5. In the left-hand menu, click "Restart Service"
6. You will be redirected to status screen once changes are applied
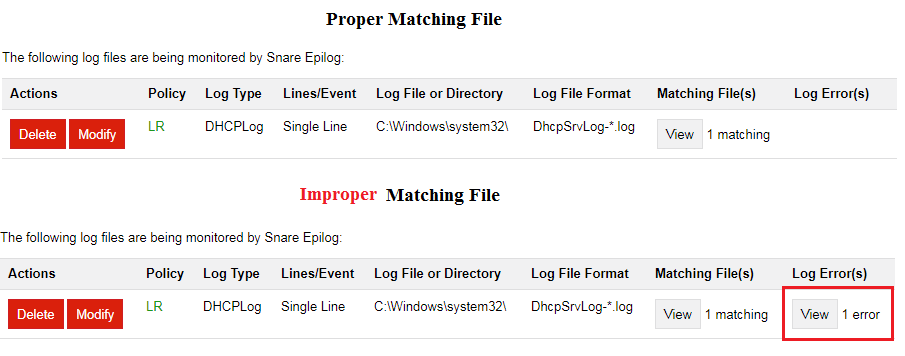
Verify Log Configuration
Review your log configuration and make sure the “Matching File” is black and not red. A filename in black indicates that Enterprise Epilog has found the current file for processing. A filename in red indicates that Enterprise Epilog cannot find the file for processing.